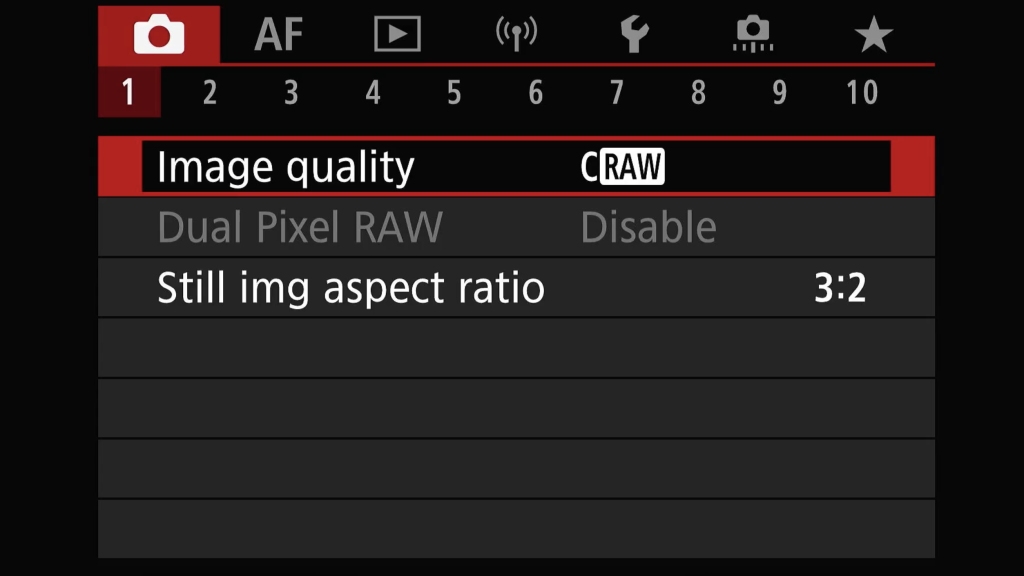
The red menu on Canon cameras houses many of the basic settings. For general wildlife only a few things I change here. On page one the only setting I change is how I want my image recorded. In the past I always shot RAW. It gave me the best chance of adjusting my shots to how I wanted them to look. If, as is frequently the case, I get things wrong, RAW gave me the greatest latitude for slapping the sliders to their full extent. In recent times Canon introduced CRAW, a lossy compressed RAW format which makes files much smaller. That lets me fit substantially more images on my memory cards and hard drive with the added bonus that it allows more shuts in the relatively small buffer that the R7 sports. At first the word "lossy" worried me but in all honesty even the most pedantic of pixel peeper would struggle to tell the difference between RAW and CRAW output.
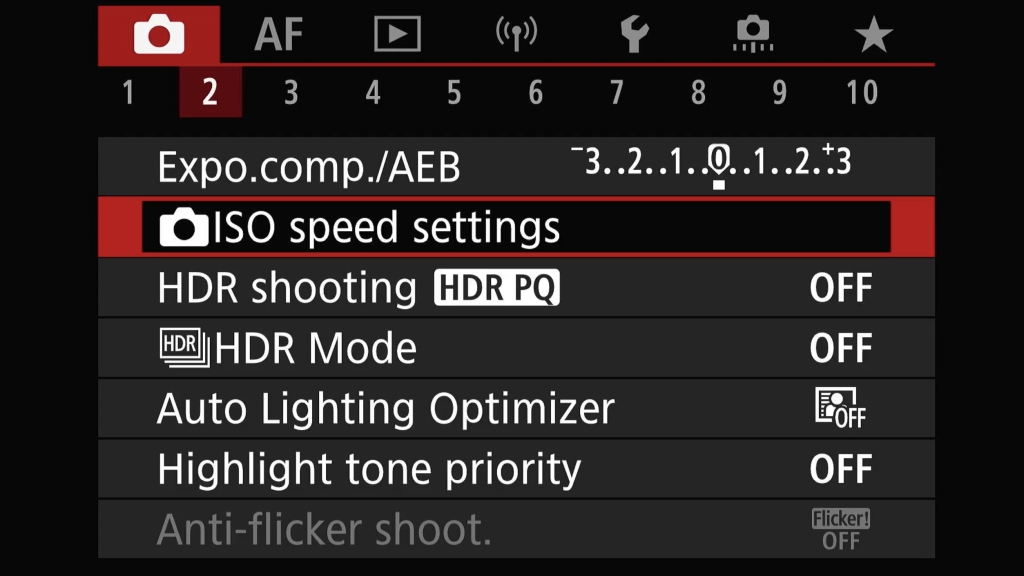
For red 2 there is nothing I change for wildlife here, although I do change exposure compensation while shooting on occasion as I mentioned earlier. I do this through a custom button rather than this menu.
Red 3 is another page where I change nothing. For general wildlife I don't use flash, something I only use for macro.
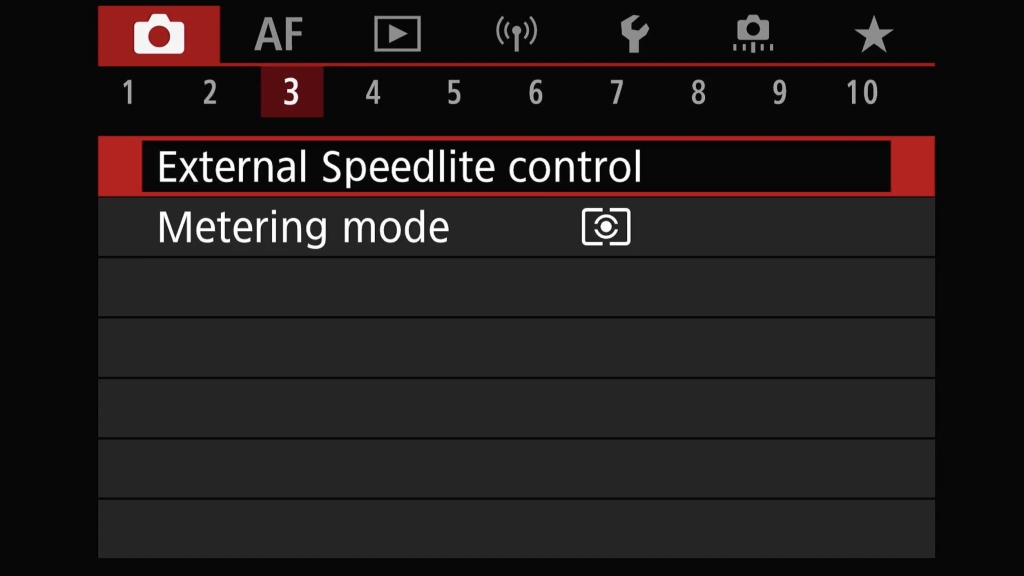
Here I could set my metering mode but again, I do that through the quick settings Q button if I need to. I usually just use evaluative metering but will change to spot metering for white birds in bright sunlight.
Red 4 has the white balance control. Here it is set to cloudy which is the norm for us in the UK. It is probably my most used white balance setting, another I change from the Q screen. As I am shooting in CRAW that is not set in stone in the file so I can change this in post anyway. I do try and set this correctly for the conditions as it makes the viewfinder look more true the scene when I am using exposure simulation. The same goes for the picture style, also set on this page.

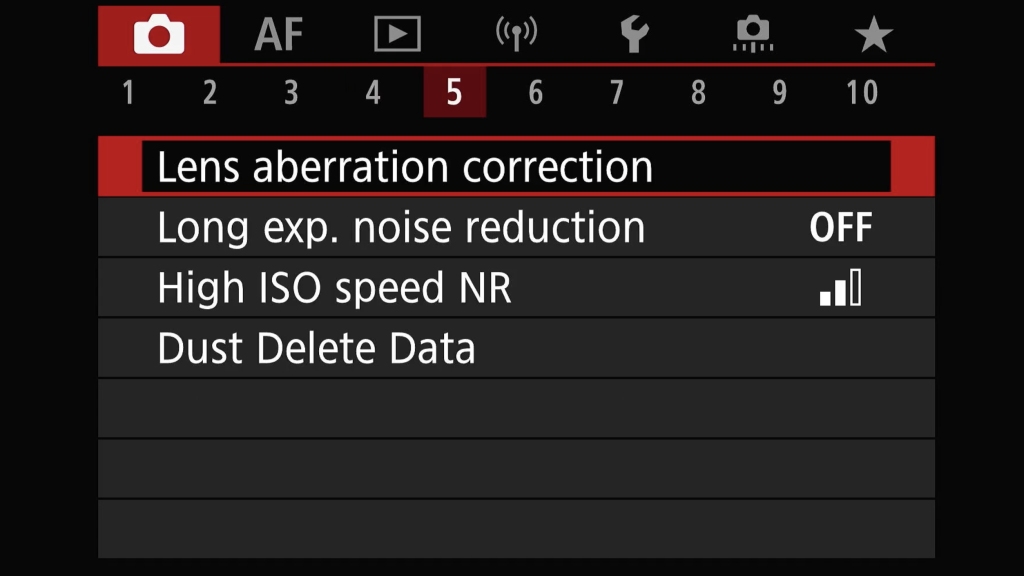
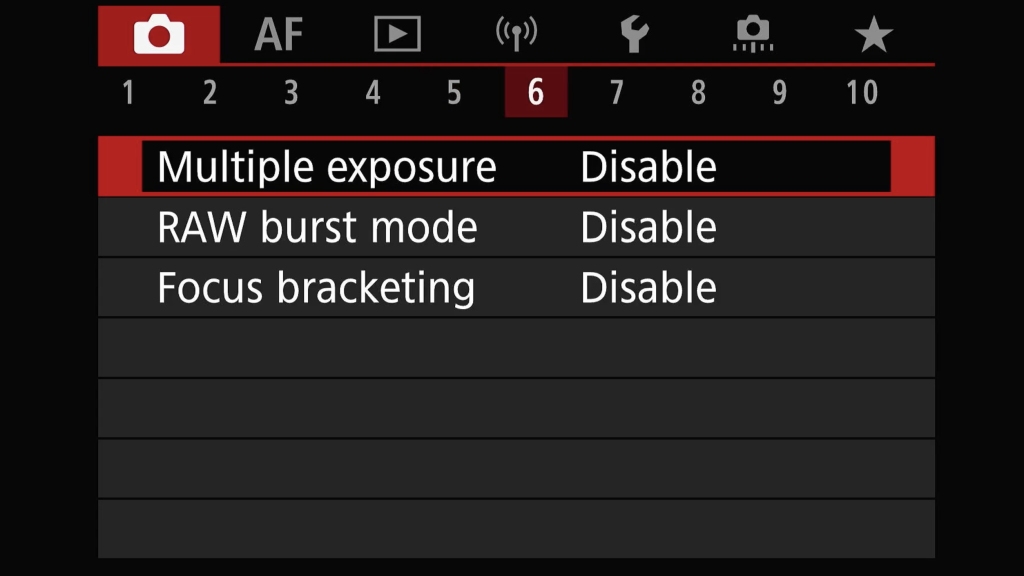
Red 5&6 I don't change anything on these pages. I do use RAW burst mode but I enable/disable that with a custom control setting.
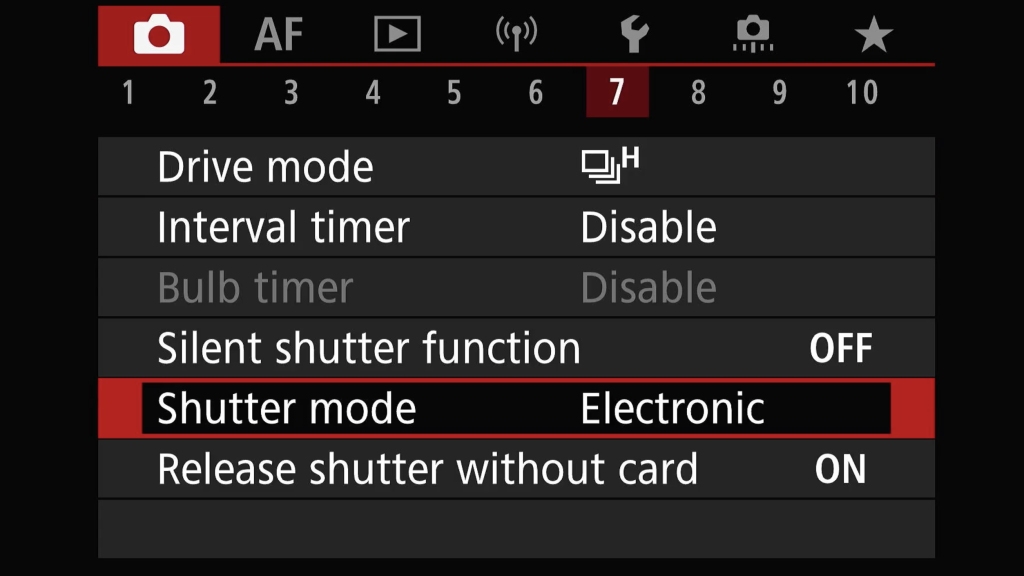
Red 7 gets a little less dull than the previous pages as here I set my shutter mode and speed. With up to 30fps the R7 is fast, but I very rarely shoot at that rate. 15fps is my preferred speed and even that is too much at times. The shutter mode is something that does take a little more thought. There are three options presented to us on the R7, something I hope will reduce to just one in the future. Mechanical shutter is quite loud, which can disturb wildlife and at low shutter speeds cause shutter shock. On a mirrorless camera it has to work harder than on a DSLR too, as it has to close before it starts the exposure cycle and then open up afterwards. This leaves more blackout in the viewfinder but does negate the rolling shutter issues the R& has in electronic shutter mode. I think in the future we will see the end of mechanical shutters as they are becoming increasingly redundant with mirrorless cameras. Next we have Electronic First Curtain shutter. This is a hybrid between full electronic shutter and mechanical with only the second curtain being mechanical. Blackout is reduced as is rolling shutter. It is not as noisy as full mechanical shutter as it doesn't have to work the shutter so hard, but like mechanical shutter you are limited to 15fps maximum. Full Electronic shutter allows 30fps and can be silent. It also provides the best view in the viewfinder as there is no blackout or stoccato effect. This is great for fast moving subjects that are hard to track. However, you cannot use flash with electronic shutter. Its biggest drawback on the R7 is an effect called rolling shutter. This can lead to distorted images with all sorts of odd optical effects. This is caused by the slow readout speed of the 32mp sensor used in the R7. As the sensor is read horizontal line by line, by the time it gets to the bottom the subject may have moved slightly and that is shown in the image. This whole subject is worth of an article or video of its own. Fortunately there are plenty available online that explain it far more concisely than I ever could. Hopefully the technology from cameras like the Canon R3 will trickle down the range so in future we can have cameras with only a full electronic shutter that has none of the aforementioned drawbacks.
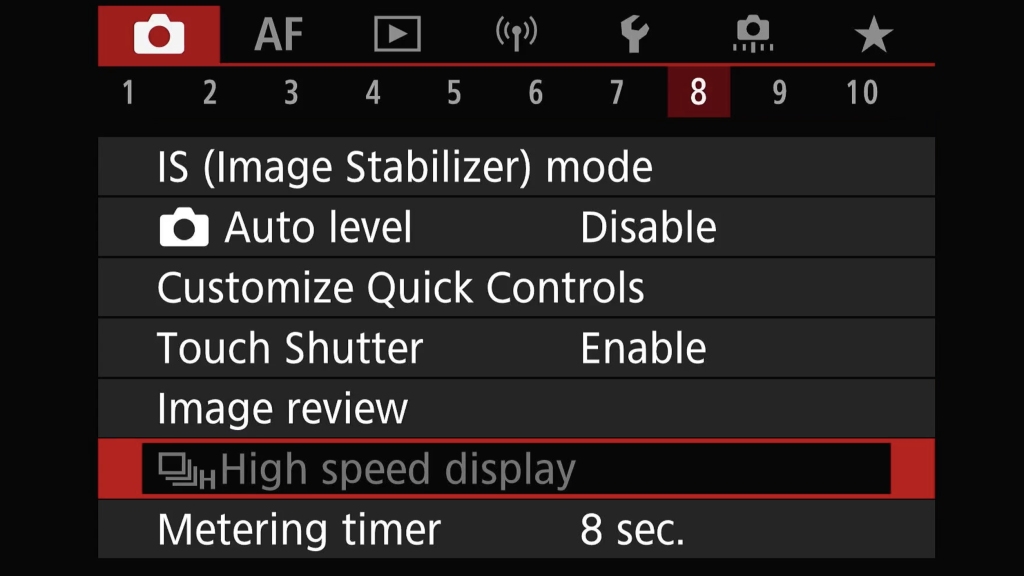
Red 8 has some interesting options that I have yet to explore. IS mode does nothing for me here as I am not discussing video in this article. If I was using an RF lens instead of an adapted EF100-400II for most of my wildlife there would be an option to enable/disable IS, but the EF lens has a switch so it doesn't even display in the menu. Auto level is not useful for fast action shooting. Customize Quick Controls changes what is displayed when you press the Q button, which is where I change many of my settings when out shooting. I have yet to touch this much but that is something I must do as there are features I don't use, and features I would like to add to that screen for rapid adjustment. I do leave image review set to disable as it saves battery. High speed displayThere is an option to only display the review on the rear screen, and not in the viewfinder. I could never see an occasion where I would want to see the last shot automatically displayed in the viewfinder, that would just be intrusive. The final setting in there, metering timer, I have set to 8 seconds. That feels like a reasonable time to me to leave the metering active after I take my finger off the shutter button, any longer adds to batter drain.
Red 9 has a few things going on. First is Display simulation. I have this set to Exposure Simulation. This is a sort of what you see is what you get mode. You see how the exposure should turn out through the viewfinder and can instantly see if things are too dark or too bright. It is one of the biggest strengths of electronic viewfinders. If you adjust any exposure related setting such as compensation or metering mode, you can instantly see the effect it will have. To me it is a no brainer to take advantage of this. There is also an option to have an optical viewfinder simulation, which increases the contrast to make the viewfinder look more like the traditional one in a DSLR, but you loose the ability to see your exposure as it will come out in the shot..
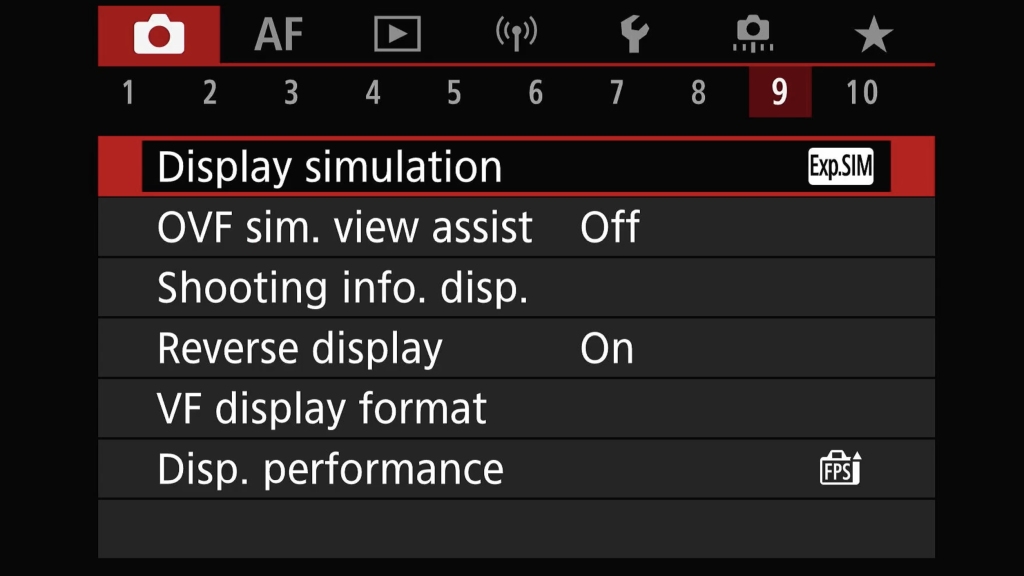
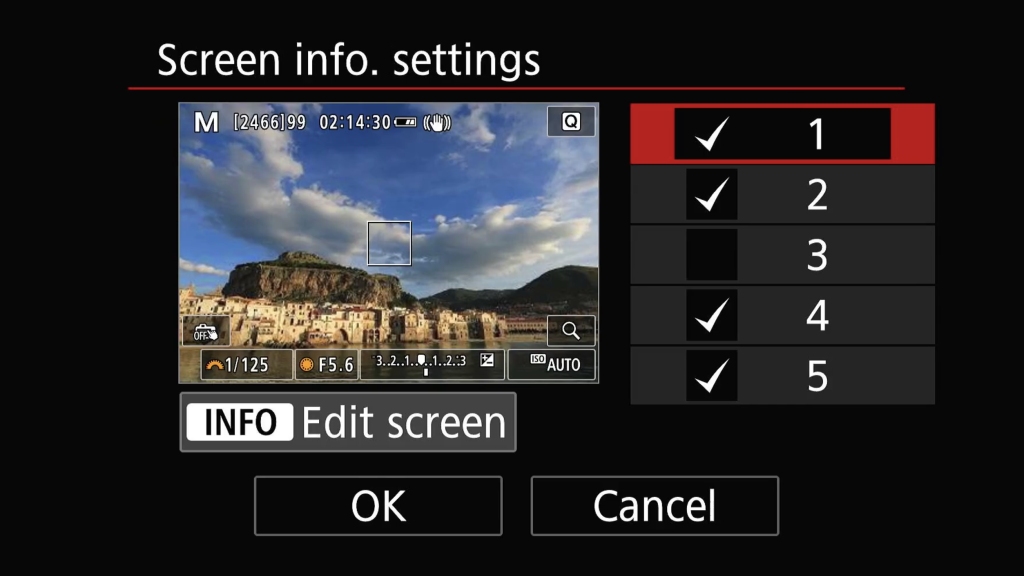
Shooting info. disp. allows you to customise what you see in the EVF. Things like the histogram, grids, lens info, level and more can be displayed. I find too much overwhelming so have quite a minimal information set displayed. I do have lens info displayed as I can see when I have knocked my zoom lens away from where I wanted it. Reverse display is set to On as this flips the display to be correct when you have the flippy screen facing forward. VF display format just seems to shrink the display, so that gets left as is. To me this is a pointless setting
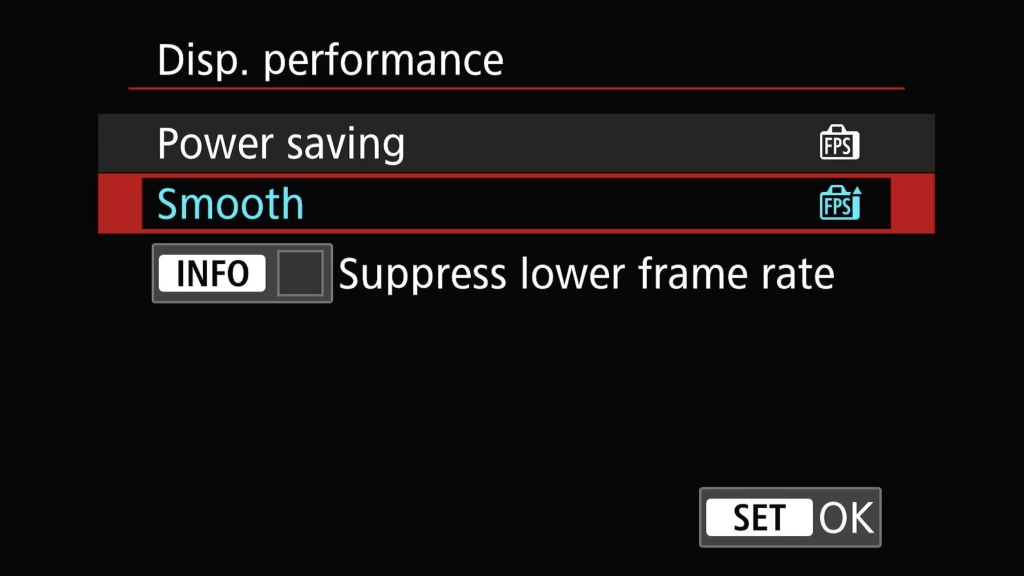
Finally in Red 9 is Disp. performance. I set this to smooth as at the expense of battery life, it doubles the EVF refresh rate from 60hz to 120hz. The battery life on the R7 is very good so I can live with this minor drawback for a fast, smoother, viewfinder experience when shooting fast subjects.
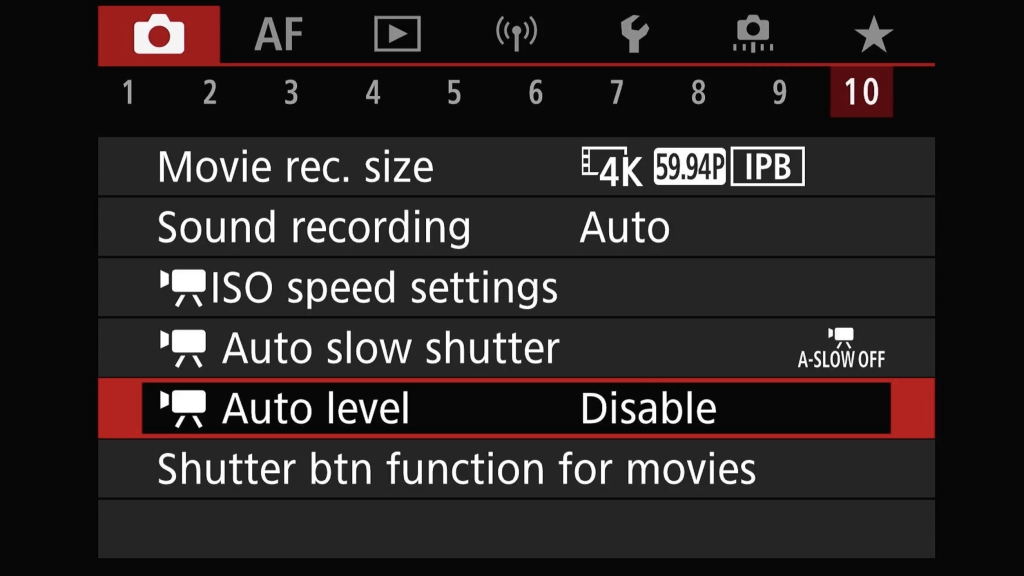
Red 10, the final menu in this section, is all to do with video recording so not something I am looking at in this article.